Quick Tire Checks Start Here
Tire pressure and tread depth work together: pressure changes the tire’s contact patch shape, while tread depth affects water evacuation and grip. In the U.S., the minimum legal tread depth for passenger cars is 2/32 in (about 1.6 mm) in most states, and many tire makers recommend replacing earlier for wet-weather safety. A practical starting point is checking pressure at least once a month and before long trips; the U.S. National Highway Traffic Safety Administration (NHTSA) has long emphasized underinflation as a contributor to tire problems, and it also notes that many drivers do not check regularly. For pressure, use the vehicle’s placard values, usually found on the driver door jamb, and measure when tires are cold (after sitting 3+ hours or driving less than about 1 mile).
What People Get Wrong
Many readings come out wrong because drivers measure hot tires, use an inaccurate gauge, or compare results to the wrong target. Tire pressure rises with temperature; a common rule of thumb is that pressure changes about 1 psi for every 10°F (about 5.5°C) change in tire temperature, so a reading after highway driving can overshoot the cold spec. Another frequent mistake is chasing TPMS alerts without checking for a slow leak, a damaged valve stem, or a puncture that seals intermittently. Underinflation increases sidewall flex, which can raise tread wear rate and heat; over time, that heat can accelerate aging of rubber compounds.
Hot readings mislead.
Pressure And Tread
Check Cold Pressure With A Gauge
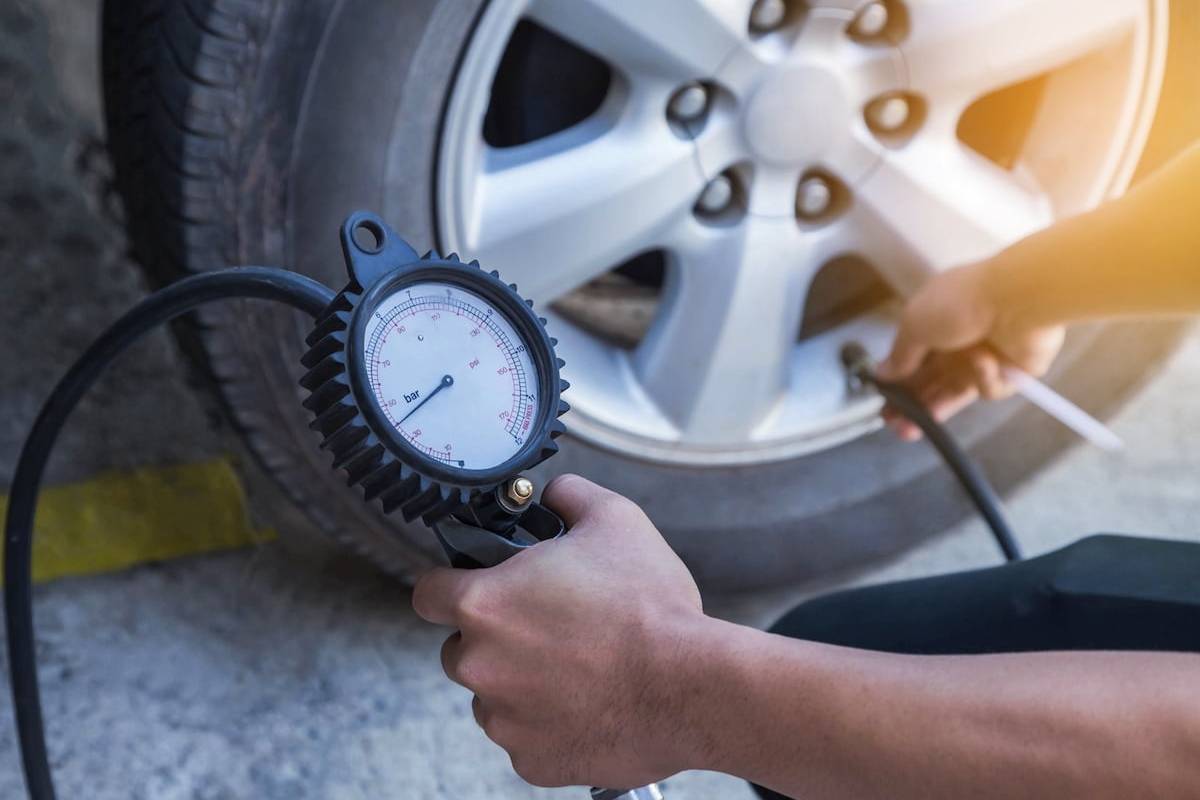
Do this: park for 3+ hours, then remove the valve cap and press a tire gauge onto the valve stem firmly. Read the number, compare it to the door-jamb placard, and inflate or deflate to match the cold spec. Why it works: cold tires stabilize internal air temperature, so the reading matches the placard’s intended operating condition. What it looks like: you’ll see a consistent psi value across tires that are healthy, and you’ll notice one tire that sits 3–8 psi low when a slow leak exists. Tools: a basic pencil gauge, a dial gauge, or a digital gauge; if you use a digital model, confirm it has a repeatable reading by checking the same tire twice. I keep a small note in my glovebox with the placard numbers, because the infotainment screen can show different units and it rarely works the way the docs say.
Cold spec beats TPMS.
Use TPMS As A Warning, Not Proof
Do this: treat a TPMS alert as a prompt to measure with a manual gauge. Why it works: TPMS thresholds and sensor calibration vary, and some systems warn when pressure drops below a set limit rather than reporting exact psi. What it looks like: the dashboard light may come on after a temperature drop overnight, then go off after you inflate to the placard. Tools: your vehicle’s owner’s manual for the TPMS reset procedure; some cars require a relearn after rotation or inflation. If your car uses indirect TPMS, the system may take several drive cycles to update, so a manual gauge prevents chasing phantom alerts.
TPMS needs confirmation.
Scan Tread Depth Across The Tire
Do this: look at the tread blocks in three zones—center, inside shoulder, and outside shoulder—then compare each to the wear indicators molded into the tire. Why it works: uneven wear reveals alignment or pressure problems that a single “center-only” check misses. What it looks like: if the center is near the wear bars but the shoulders still look deep, the tire may be overinflated or the suspension may be worn; if the shoulders are near bars, underinflation or alignment issues are more likely. Tools: a tread-depth gauge for mm or 32nds, plus good lighting. A quick aside: I’ve seen cheap gauges read 0.5–1.0 mm high when the slider sticks, so check the gauge against a known reference if you can.
Check inside and outside.
Use The Penny Test Carefully
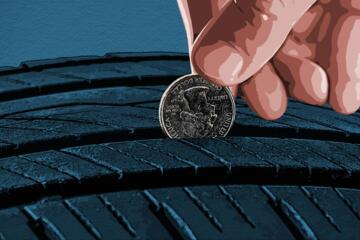
Do this: insert a penny into the tread groove with Lincoln’s head facing down; if the top of the head is visible, tread depth is likely below about 2/32 in (1.6 mm). Why it works: the penny test is a rough proxy for depth, and it can flag tires near the legal minimum. What it looks like: you’ll get a “pass” on tires with deeper grooves and a “fail” when the tread is worn down close to the wear bars. Tools: a penny and a consistent groove location, because tread depth varies across the pattern. Mild frustration: the penny test depends on the coin’s size and the groove shape, so it should trigger a gauge measurement rather than replace it.
It’s a rough screen.
Interpret Uneven Wear Patterns
Do this: after checking depth, look for patterns—feathering, cupping, bald spots, or shoulder wear—and compare left vs right. Why it works: tread wear patterns often point to specific mechanical causes, which helps you decide whether to adjust pressure, schedule alignment, or inspect suspension components. What it looks like: feathering (small ridges) can suggest worn steering components or toe issues; cupping can suggest imbalance or worn shocks/struts; a diagonal wear band can suggest belt damage from impact. Tools: a flashlight, a phone camera for close-ups, and the tire’s rotation history. If you recently changed tire sizes or loaded the vehicle differently, note that too, because load changes can shift wear.
Patterns guide the next step.
Educational Case Examples
Case: TPMS Light After A Cold Night
A driver sees a low-pressure warning after a week of colder mornings. They inflate all four tires to the door-jamb cold spec, then measure again the next morning before driving. The next day, one tire reads 4 psi low while the others stay within 1–2 psi of their targets. The driver checks the valve stem with soapy water and finds a small bubble pattern, then replaces the valve core and schedules a tire inspection. This scenario shows why TPMS alerts need manual confirmation and why a pressure drop that repeats after inflation points to a leak rather than temperature alone.
Temperature explains some alerts.
Case: Center Tread Looks Fine
A driver checks tread by looking only at the center grooves and sees no obvious wear bars. After a closer scan, they measure tread depth and find the inside shoulder is 2/32 in (about 1.6 mm) while the center is closer to 5/32 in (about 4.0 mm). The driver also notices the steering wheel feels slightly off during braking. They schedule an alignment check and ask for suspension inspection, then remeasure after the repair. This scenario highlights how uneven wear can hide until you check multiple zones, and it shows why a single visual glance can miss a safety-relevant pattern.
Inside wear can hide.
Pressure And Tread Checklist
| Check | What To Do | What You Should See | Next Step |
|---|---|---|---|
| Cold tire pressure | Measure after 3+ hours. Match door-jamb psi. | All tires within ~1–2 psi of each other. | If one tire drops 2–3 psi in 1–2 days, inspect for leaks. |
| TPMS alert | Confirm with a manual gauge. | TPMS may lag after inflation. | Inflate to placard, then recheck after ambient temperature returns. |
| Tread depth | Measure center and both shoulders. | No area near wear bars; depth consistent across width. | If near 2/32 in (1.6 mm), plan replacement and check alignment. |
| Visual wear pattern | Look for cupping, feathering, shoulder wear. | Uneven wear suggests mechanical causes. | Schedule alignment and suspension inspection if patterns repeat. |
Use this order: pressure first.
Common Mistakes To Avoid
First mistake: measuring pressure right after driving and comparing it to the cold placard. The same tire can show a higher psi when warm, so you may overinflate and then end up underinflated later when the tires cool. Second mistake: using a gauge that has not been checked for accuracy; cheap gauges can drift, and a dial gauge with a sticky needle can mislead. Third mistake: relying on the TPMS display as an exact number; TPMS warnings are thresholds, not calibrated lab readings. Fourth mistake: checking tread only in one spot, which misses inside-shoulder wear that can reduce grip during cornering and wet braking.
One spot hides problems.
Another mistake involves the penny test. People often treat a “pass” as permission to ignore the tire, even though tread depth varies across the pattern and the coin test does not measure mm precisely. A related issue: forgetting the spare tire, which can sit at low pressure for months and still be “out of sight.” If you rotate tires, you also need to track which tire moved where; otherwise, you might misread wear trends. Finally, avoid driving on a tire with sidewall damage, bulges, or cords visible; those conditions can fail suddenly.
Sidewall damage is different.
FAQ
How Often Should I Check Pressure?
Check at least once a month and before long trips. Temperature swings can change tire pressure, and a slow leak can drop psi over days, so monthly checks catch issues before they become a driving problem.
What Tire Pressure Number Should I Use?
Use the psi values on the driver door jamb placard for your vehicle and load condition. Do not use the maximum pressure printed on the tire sidewall; that number is the tire’s limit, not the vehicle’s target.
Can I Trust TPMS Without A Gauge?
TPMS is a warning system, not a precise measurement tool. Confirm any alert with a manual gauge, then recheck after the tires return to ambient temperature to confirm the fix.
How Do I Measure Tread Depth Accurately?
Use a tread-depth gauge and measure in the center and both shoulders. Compare readings across the tire; uneven depth suggests alignment or pressure issues even when the center looks acceptable.
When Should I Replace Tires?
Replace tires when tread is near the wear bars or around 2/32 in (1.6 mm), and plan earlier replacement for wet-weather safety. If you see uneven wear patterns, get alignment or suspension checked so new tires do not wear out quickly.
Author's Insight
Quick tire checks work best when you treat them as measurements, not guesses. Cold pressure readings paired with a tread scan across the width catch most safety-relevant problems: slow leaks, underinflation, and uneven wear. A small log turns “I think it’s fine” into a trend you can act on, and it helps you decide whether alignment or a leak repair is the real cause. I do not have personal driving history to cite, so the guidance here relies on common measurement practices and widely used thresholds like 2/32 in (1.6 mm) for tread wear.
Measure, then decide.
Final Thoughts
Check tire pressure with a manual gauge on cold tires, then match the door-jamb psi. Scan tread depth in the center and both shoulders, and treat wear bars and near-2/32 in (1.6 mm) readings as a replacement signal. Use TPMS as a prompt to measure, not as proof, because thresholds and sensor behavior vary. If one tire repeatedly drops 2–3 psi in 1–2 days, inspect for leaks and have the tire examined; if you see sidewall bulges or cords, stop driving and seek professional inspection. For drivers who want a simple next step, start with one 10-minute check today, then repeat in 30 days and after any long trip.