Topic Introduction
Small drywall holes usually fall into a few predictable categories: pinholes from fasteners, shallow dents, and impact holes from doorknobs or furniture. The repair method depends less on the hole’s “look” and more on whether the paper face is torn, whether the cavity is deep, and whether the surrounding drywall edges are stable.
For many repairs, you can finish the physical patch in minutes, then spend extra time on drying and sanding. A typical workflow uses a patch compound (or spackle), a putty knife, and sandpaper. If you already own a cordless drill, a utility knife, and a sanding block, the job often stays low-cost and low-mess.
One practical detail: if you’re working with a thin, painted wall, keep a damp rag nearby to wipe squeeze-out before it hardens. I’ve watched people chase dried compound with a razor and end up scratching the surrounding paint, which is the part that takes the longest to fix.
Main Problems Or Pain Points
The most common mistake is using the wrong filler for the hole’s structure. Spackle and lightweight patch products work best when the paper face is intact or when the hole is shallow. If the paper is torn and the edges flex, the filler can shrink and crack because it has nothing rigid to “lock” onto.
Another frequent issue is skipping prep. Loose drywall paper, dust, and oily fingerprints prevent compound from bonding. Joint compound also needs a clean, slightly rough surface for good adhesion, especially when you’re patching over glossy paint or textured finishes.
People also underestimate drying time. Many patch materials feel dry on the surface while still soft underneath, and sanding too early creates ridges that show after paint. The label’s drying guidance matters because humidity and room temperature change cure speed.
Supporting dependencies matter too. If the wall has a knockdown or orange-peel texture, you need a plan for matching texture, not just smoothing. If the hole is near a stud or a screw, the fix may involve tightening the fastener first, then patching the resulting depression.
Finally, tools can sabotage results. A wide putty knife helps feather edges, while a small blade tends to leave a “step” that sanding can’t fully erase without thinning the surrounding surface.
Solutions And Advice
Pick The Right Patch Method
Start by classifying the hole. For pinholes and small screw pops, a thin coat of spackle or a lightweight patch compound usually works. For small impacts (roughly the size of a coin), a two-step approach works well: fill the cavity, then feather the edges with a wider knife.
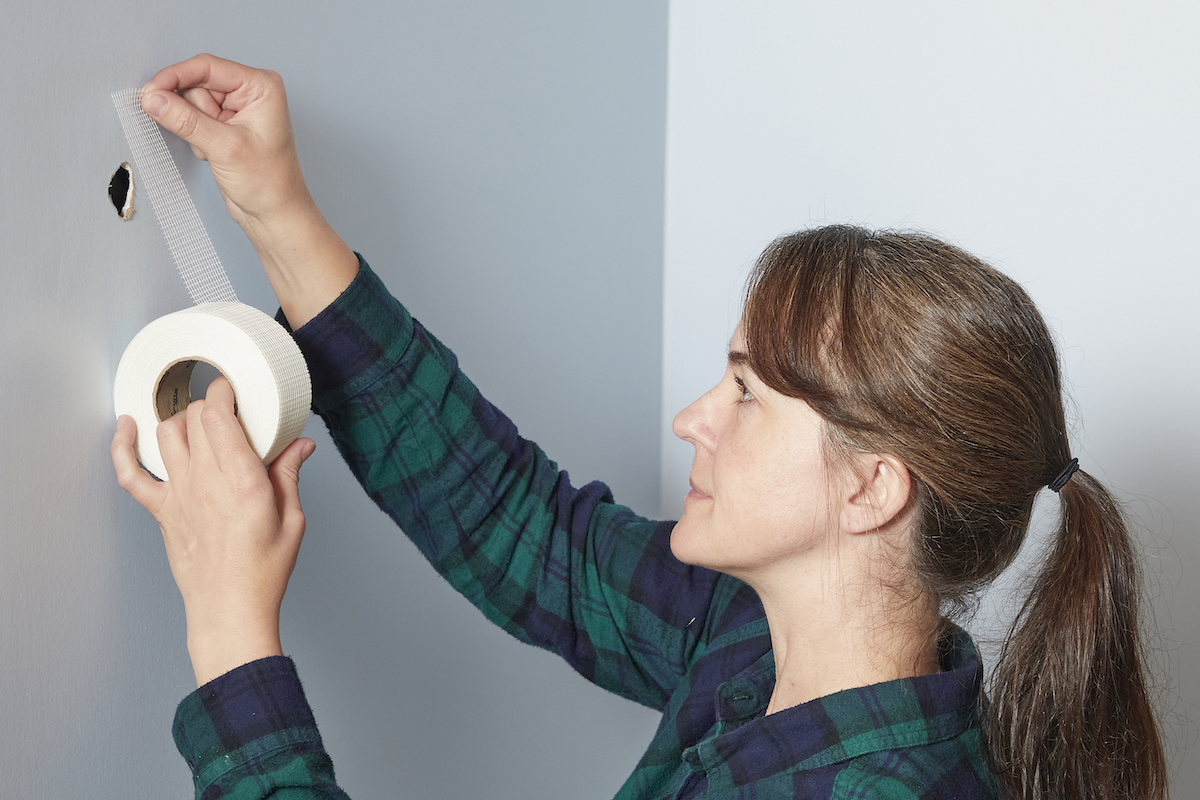
If the drywall paper is torn, trim loose fibers with a utility knife until you reach firm edges. Then use a patch compound that can bridge and bond to the remaining paper. For holes that go through the wall, you need backing (like a scrap of wood or a drywall patch support) so the filler has something to hold against.
As a small aside, I’ve seen people try to “just smear” compound over a loose edge. The compound sticks for a day, then the edge lifts and the repair fails during normal wall movement.
Use A Fast, Clean Workflow
Gather tools: 4–6 in (10–15 cm) putty knife, 1–2 in (2.5–5 cm) margin knife, utility knife, sandpaper (120–220 grit), and a damp cloth. For sanding, a sanding sponge reduces gouges compared with loose sheets.
Clean the area, remove dust, and lightly scrape any raised edges. Apply compound in thin layers. Thin layers dry faster and shrink less, which reduces the chance you’ll need a third coat.
For a typical small hole, plan on 10–20 minutes of active work: fill, scrape flush, and feather. Drying often takes longer than the filling step, so schedule the sanding for after the product’s stated dry time. In one job I watched in a home workshop on 2024-11-03, the patch felt dry after 30 minutes but sanding at 45 minutes left a soft spot that later telegraphed through paint.
Sand, Feather, And Match Finish
Sand only after the patch is fully dry. Use 120 grit to knock down high spots, then switch to 180–220 grit to smooth. Feathering means blending the repair so the transition is gradual, not a hard ridge.
Wipe off dust with a dry cloth first, then a lightly damp cloth if the wall is dusty. Let it dry before painting. Dust trapped under paint can create tiny bumps that look like “grain” after the wall dries.
If the wall has texture, you may need a texture-matching step. For knockdown texture, you can sometimes re-create the pattern with a damp sponge and light passes. For orange peel, a spray texture product can help, but the match depends on the existing pattern and spray technique.
Paint Timing And Touch-Up Strategy
Paint the repair after sanding and dust removal. If you have leftover paint, use it. If you don’t, plan for a visible difference because older paint can have different sheen and binder composition.
For small repairs, a common approach is to prime bare compound before topcoat. Many patch materials are absorbent and can drink paint unevenly. A stain-blocking primer is usually unnecessary for plain drywall patching, but a standard drywall primer can reduce blotchiness.
If you’re painting a larger area, blend by feathering the paint edge with a brush or roller so the repair doesn’t show as a rectangle. You save time by doing the whole wall section rather than chasing a tiny “halo” later.
Case Examples
Coin-Sized Impact On Flat Wall
A renter had a small hole about the size of a coin from a dropped tool. The drywall paper face was intact but the edges were slightly ragged. The repair used a lightweight patch compound applied in two thin layers, each scraped flush with a 4–6 in knife. After full dry time, sanding with 180 grit feathered the edges. The final paint matched well because the wall was flat and the patch was kept thin.
The key decision was trimming only the loose fibers and not over-cutting the drywall. Over-cutting creates a larger cavity that needs more compound, which increases shrink risk and sanding time.
Screw Pop Near A Door Frame
A homeowner noticed a screw pop near a door frame: the screw head had backed out slightly, leaving a small depression and a hairline crack. The fix started by tightening the screw so it sat firmly without stripping the paper. If the screw no longer held, the repair used a new fastener position nearby rather than forcing the same screw.
After securing the drywall, the repair filled the depression with spackle, then feathered the edges. The person waited for full dry time before sanding. The final touch-up avoided a visible ring by priming the patched area before paint.
Comparison Table Or Checklist
| Hole Type | Best Material | Layer Plan | Dry/Sand Timing |
|---|---|---|---|
| Pinhole / Screw Pop | Spackle or lightweight patch | 1 thin coat, then feather | Dry per label; sand with 180–220 grit |
| Small Impact (Coin) | Lightweight patch compound | 2 thin coats; scrape flush between | Dry fully before sanding; avoid early sanding |
| Torn Paper Edges | Joint compound or patch compound after trimming | Fill, then feather wider than the hole | Often needs extra dry time; sand in stages |
| Through-Hole | Patch with backing support | Build in thin layers over backing | Dry longer; expect more sanding |
Step-by-step checklist for a small hole repair:
- Clear dust and loose paper; trim only what moves.
- Fill the hole with a thin first coat; scrape flush.
- Let it dry fully based on the product label.
- Apply a second thin coat to feather edges.
- Sand with 120 grit to remove ridges, then 180–220 grit to smooth.
- Wipe dust; prime if the patch looks absorbent.
- Paint with matching sheen; blend the paint edge.
Common Mistakes
People often skip the “trim loose fibers” step. If the paper face is partially detached, compound bonds to dust instead of drywall, and the patch can pop out later.
Another mistake is applying thick compound in one pass. Thick layers trap moisture, shrink as they cure, and create a crater that demands more sanding and more paint.
Sanding too aggressively can thin the surrounding drywall paper and create a shiny low spot that shows under raking light. Use a sanding sponge and light pressure, then check with your fingertips.
Skipping primer can cause uneven sheen and blotchiness, especially on older walls. If you see the patch darken or drink paint during a test stroke, primer helps prevent a visible ring.
Finally, many repairs fail because the underlying movement wasn’t fixed. A screw pop repeats if the screw stays loose, and a crack near a corner can reappear if the wall has ongoing stress.
FAQ
How long does a small drywall patch take to dry?
Drying time depends on the product and room conditions. Follow the label’s dry time for sanding and painting, since thin layers can be ready sooner while thick layers often need longer.
Can I use spackle for a coin-sized hole?
Spackle can work for small, shallow damage, but lightweight patch compound usually handles impacts better because it fills and feathers with less shrink. If the hole is deeper, thin layers matter more than the brand name.
What grit sandpaper should I use?
Use 120 grit to remove ridges, then 180–220 grit to smooth. Stop sanding when the repair feels level under your fingertips and no edge “step” remains.
Do I need primer before painting?
Primer helps when the patch looks absorbent or when you want consistent sheen. If the repair area stays slightly different in color after paint, primer typically reduces that mismatch.
How do I match textured drywall?
Match the existing texture pattern before painting. Flat walls hide minor feathering, while knockdown and orange-peel textures require controlled re-creation using the same tools and a light touch.
Author's Insight
Drywall patching succeeds when the filler bonds to stable drywall and dries in thin layers that shrink less. The “minutes” part usually refers to active work, while cure time and sanding determine whether the repair stays invisible.
When a hole involves torn paper or a screw pop, the repair starts with fixing the cause: trimming loose edges or tightening/replacing fasteners. That step prevents repeat failures that look like “bad compound” but are actually movement or poor adhesion.
For materials, read the label for layer thickness and recoat timing, since cure behavior varies by product type and brand. I’ve also noticed that sanding too early creates ridges that only appear after paint, which is why patience beats speed here.
Key Takeaways
- Choose the patch method based on drywall stability: intact paper, torn edges, or through-holes.
- Apply thin layers and scrape flush between coats to reduce shrink and sanding.
- Sand after full dry time, then feather edges so the transition stays gradual.
- Prime when the patch absorbs paint or when sheen mismatch shows up during touch-up.
- Fix the underlying cause (loose fasteners, loose paper) so the repair doesn’t return.