Renewal Basics And Timing
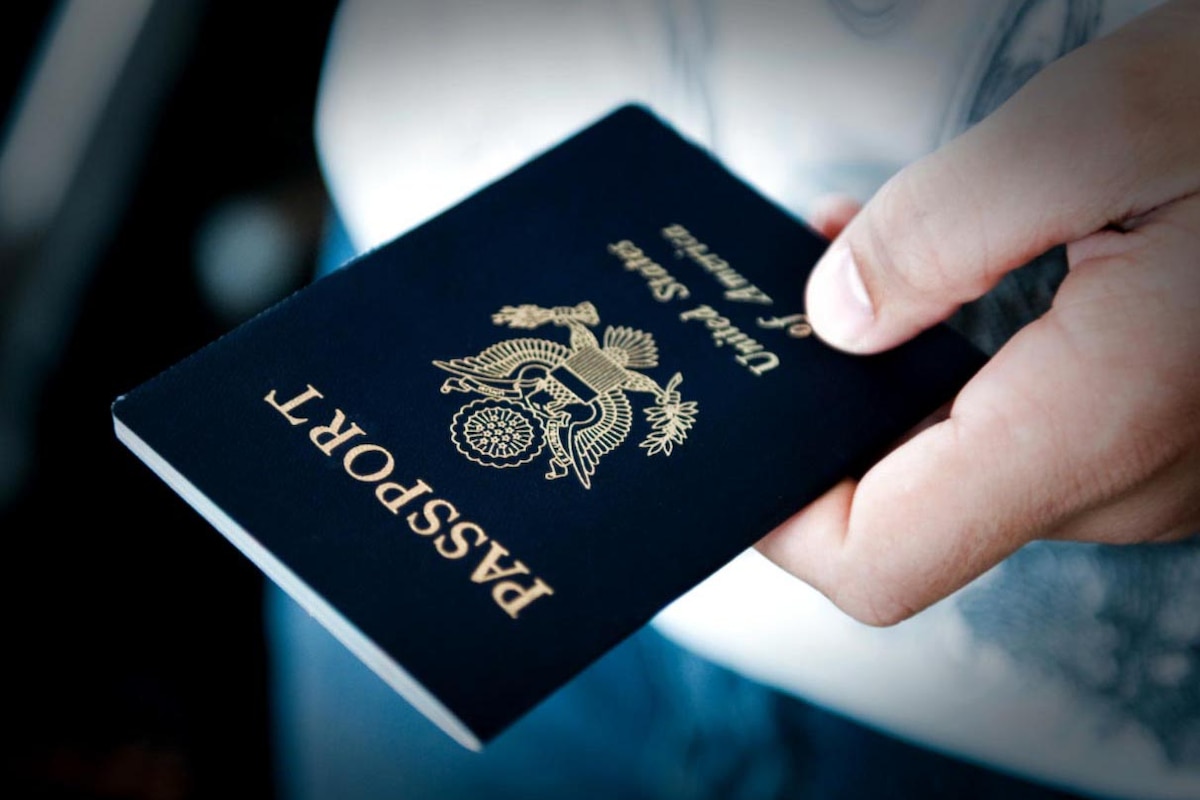
Passport and ID renewals follow a document-and-verification workflow: you submit identity evidence, the agency checks eligibility, then a new card or booklet is issued. Renewal rules vary by country and by whether you apply by mail, in person, or through an online portal. In the United States, the U.S. Department of State reports that routine passport processing is typically about 8–11 weeks, while expedited service is typically about 5–7 weeks, though exact timelines change by workload. Plan for the possibility of extra time if your photos, supporting documents, or name history do not match agency records.
Start with your deadline.
Check the date you need the document, then work backward. Many countries require passports to have a minimum validity period at entry, and some airlines enforce their own rules at check-in. If you are renewing for travel, confirm the destination’s entry requirements on an official government site and also check your airline’s policy, since both can reject boarding when validity is short.
Renewal Pain Points
People often get renewal wrong in predictable ways: they reuse an old photo, they submit a document that does not match the name on the application, or they miss a signature or supporting page. These errors matter because identity verification depends on consistent fields across records, and mismatches can trigger manual review. Manual review adds time and can lead to requests for additional evidence, which can break travel plans.
Skip the timer apps. They add one more thing to manage.
Another frequent issue is misunderstanding what “renewal” means in practice. Some systems treat certain changes—like a name change, a damaged passport, or a first-time issuance after a long gap—as a new application type rather than a simple renewal. That shift changes the required documents and the processing path, and it can also affect fees and appointment availability.
Renewal Workflow
1) Confirm Your Eligibility Path
Start by identifying the exact renewal route your agency offers for your situation. Eligibility can depend on whether your current passport is undamaged, how long ago it expired, and whether you have legal name changes. In the U.S., the State Department’s renewal options differ for adults renewing by mail versus those needing in-person processing, and the agency’s instructions list which forms and documents apply to each case.
Eligibility drives the checklist.
Look for a “renewal by mail” or “renewal in person” instruction page, then match your facts to the listed criteria. If your situation does not match the criteria, the agency may require a different application type, which changes both the documents and the appointment requirements.
Skip assumptions; match criteria.
2) Collect Identity Proofs
Make a folder with the documents you will submit, then verify each one against the application fields. For passports, proof can include your most recent passport and supporting identity documents if required. For IDs, proof often includes identity documents plus residency evidence such as utility bills or lease documents, depending on your jurisdiction.
Mismatch triggers manual review.
Check that every document is legible and unaltered. If a document is expired, damaged, or partially unreadable, agencies may treat it as insufficient. If you recently changed your name, include the legal name-change document and ensure the spelling matches across all forms.
Keep copies of everything.
3) Take A Compliant Photo
Photo compliance is one of the most common failure points. Use a photo service that follows your country’s passport or ID photo standards, or follow the agency’s published measurements and background requirements. For U.S. passport photos, the standard is 2x2 inches (51x51 mm) with a plain white or off-white background, and the face must meet size and positioning rules.
Use the right dimensions.
Print quality matters: avoid shadows, glare, or heavy compression artifacts. If you upload a digital photo, check the portal’s file format and size limits, since some systems reject images that look fine on your phone but fail upload validation.
Photos fail for small reasons.
4) Complete Forms Carefully
Fill out the application using the exact spelling and order of names shown on your identity documents. Use black ink if the form requires it, and sign where indicated. Many agencies reject applications for missing signatures, missing dates, or using the wrong form version, so verify the form number and version date printed on the document.
Sign exactly where required.
For online forms, double-check address formatting and postal codes, since automated checks can flag invalid characters. If a portal asks for a “previous name” field, enter it exactly as shown on your legal change document.
Version dates matter.
5) Choose Submission Method
Pick the submission method that matches your timeline and eligibility. In-person submission can reduce some mailing uncertainty, while mail-in submission can work if your documents meet the renewal-by-mail criteria. If you need faster processing, check whether expedited service exists and what proof or fees are required.
Plan around processing windows.
In the U.S., the State Department offers routine and expedited processing for passport applications, and it also offers an urgent travel option in limited circumstances. Processing time estimates are not guarantees, so plan a buffer if you have time-sensitive travel or medical appointments.
Buffers reduce stress.
6) Track Status And Respond Fast
After submission, track your application status using the agency’s tracking tools if available. If the agency requests additional information, respond quickly because delays often come from waiting for documents to be returned or verified. Keep your email and mailing address current, since status updates may be sent to the address on file.
Reply within the deadline.
Some portals show “received,” “in process,” and “shipped” style updates, but the wording varies. If you see a status that suggests a problem, read the instructions for what to send next rather than resubmitting everything immediately.
Resubmitting can reset queues.
7) Verify Delivery And Document Accuracy
When you receive the renewed passport or ID, inspect the printed details right away: name spelling, date of birth, document number, and photo. If you spot an error, contact the issuing agency promptly because corrections can require a replacement process. For passports, also check that the expiration date and validity period match what you expected based on the renewal type.
Check details on day one.
If you travel soon, confirm that the document is physically intact and that the photo and laminations look correct. If you notice damage from shipping, report it quickly so the agency can advise the replacement path.
Damage can complicate travel.
Real Situation Examples
Example 1: Expired Passport With Name Change
A traveler’s U.S. passport expired 2 years ago, and they legally changed their last name 6 months ago after marriage. They start by checking the renewal-by-mail criteria and find that the name change requires additional documentation. They gather the marriage certificate, order a compliant photo, and complete the application with the new name matching the legal document. They submit using the method that matches their eligibility path, then track status and respond immediately to a request for a clearer copy of the name-change document.
Reason: mismatched fields cause review.
Example 2: State ID Renewal With Residency Proof
A resident renews a state ID and discovers the portal rejects one residency document because it shows a different address format than the application. They correct the address entry, then submit two residency proofs that match the required categories listed by the state DMV. They also replace a photo taken at home because the background is not uniform. After approval, they verify the printed address and name spelling on the new card before discarding the old one.
Reason: photo and address must match.
Checklist And Comparison
Use this decision support to reduce avoidable rework. It compares common choices and highlights what to verify before you pay.
| Option | Best When | Main Risk | What To Check |
|---|---|---|---|
| Renew By Mail | Your case matches the agency’s renewal-by-mail criteria | Photo or document mismatch triggers a request for more evidence | Form version, photo measurements, signature placement |
| Renew In Person | You need help with eligibility or you have complex documents | Appointment availability limits your timeline | Bring original documents, confirm appointment requirements |
| Expedited Service | You have a tighter travel window and your case is eligible | Expedited processing does not remove all delays | Current processing estimates, fee rules, eligibility limits |
| Online Portal | Your agency supports online renewal for your case | Upload failures and data-entry errors | File size limits, photo upload rules, address formatting |
Checklist for submission day:
- Confirm the form number and version date printed on the page.
- Use a photo that matches published measurements and background rules.
- Match name spelling across every document and every field.
- Sign exactly where the agency marks a signature line.
- Include every required supporting document and page.
- Keep a scanned copy or photo of the full packet.
- Track delivery and respond to agency requests quickly.
Small errors cost weeks.
Common Mistakes
People often submit a photo that looks acceptable to them but fails measurable criteria like head size, background uniformity, or image sharpness. Some home printers add color casts or compress the image, and the result can fail automated checks. If you use a photo taken for another purpose, you may discover the wrong background or cropping rules after the agency rejects it.
Skip the “almost right” photo.
Another delay source is document mismatch. A birth certificate with a different spelling, a residency proof with a different address format, or a name change document that does not match the application can trigger manual review. Manual review can also happen when a passport number is mistyped by 1 digit, which is why you should compare the number on your current document to the number you type into the form.
FAQ
How early can I renew?
Many agencies let you renew before expiration, but the allowed window varies by country and document type. Check the official renewal page for your passport or ID, then count backward from your travel date and the processing estimate.
What if my name changed?
Use the legal name shown on your identity documents and include the required name-change evidence. Agencies often treat name changes as a different application path, so match your situation to the eligibility instructions.
Can I renew with an expired passport?
Expired passports can be eligible for renewal, but eligibility depends on how long ago it expired and whether the passport is damaged. Review the agency’s criteria for expired documents and bring any required supporting identity evidence.
Why do photos get rejected?
Rejections commonly come from incorrect dimensions, improper background color, face position outside the required area, shadows, glare, or low image sharpness. Use a photo service that follows the exact published standard for your document type.
How do I track my application?
Use the tracking method provided by the issuing agency, which may include an online status page or a reference number from your receipt. If you receive a request for additional documents, respond within the stated timeframe.
Author's Insight
Renewals fail less often because of “bad luck” and more often because of mismatched fields, noncompliant photos, and incomplete packets. Those failures trigger manual review, which adds time even when the applicant is otherwise eligible. I recommend treating the application like a checklist-driven process: verify form version, verify photo measurements, verify name spelling, then verify every required page is included. If you want a practical tool, create a one-page packing list and mark items off while you assemble the packet, even if you already used a digital checklist.
Key Takeaways
Start by confirming the correct renewal path for your eligibility, then collect identity and residency proofs that match the application fields exactly. Take a photo that meets the published measurements and background rules, and fill forms using the same spelling and order as your documents. Track the application status and respond quickly to any request for additional evidence, since delays often come from waiting for clarifications.